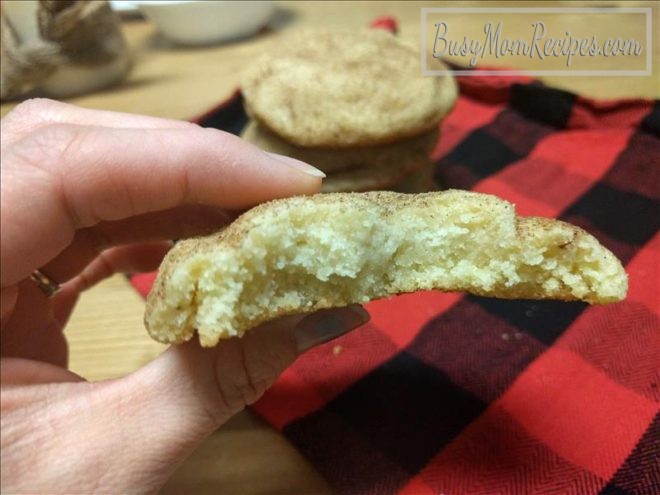
Snickerdoodle cookies are not the first type of cookie to come to mind when I think about cookies. But my husband loves them <3 I found a great recipe from The Pinning Mama, which I ended up doubling and slightly changing the amount of the last two ingredients. One thing I was looking for in a snickerdoodle recipe was that it didn’t call for any cream of tartar. I don’t usually have cream of tartar stocked in my kitchen so I prefer recipes without it. I also prefer chewy over crunchy when it comes to cookies, and this recipe looked like a winner. After tasting the cookies, it is definitely a winner in our house!
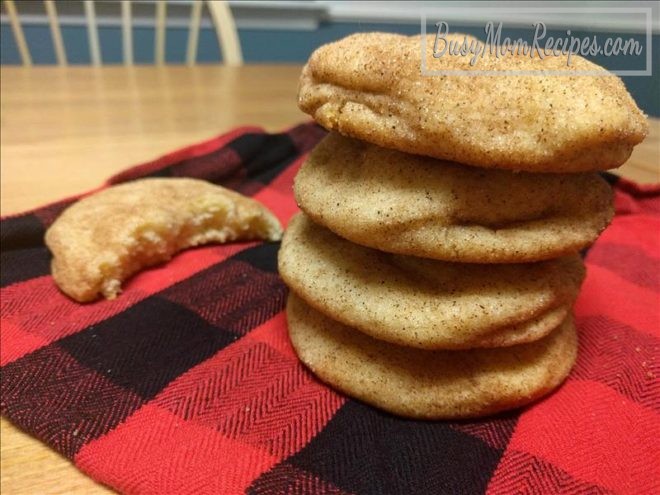
Of course you can halve the below recipe, but sometimes it’s nice to give cookies to friends or neighbors, or stash some away in the freezer for another day.
Snickerdoodle Cookies
Ingredients (yields 24-25 big cookies):
- 6 C. all-purpose flour (remember to spoon the flour into the measuring cup)
- 3 tsp. baking powder
- 1/2 tsp. salt
- 2 C. butter, room temperature (because I didn’t plan in advance to make these cookies, I didn’t randomly have 4 sticks of butter sitting out at room temperature, so I just microwaved the butter for about a minute, until half was melted and half was softened, then let it sit a few minutes.)
- 2 1/2 C. granulated sugar
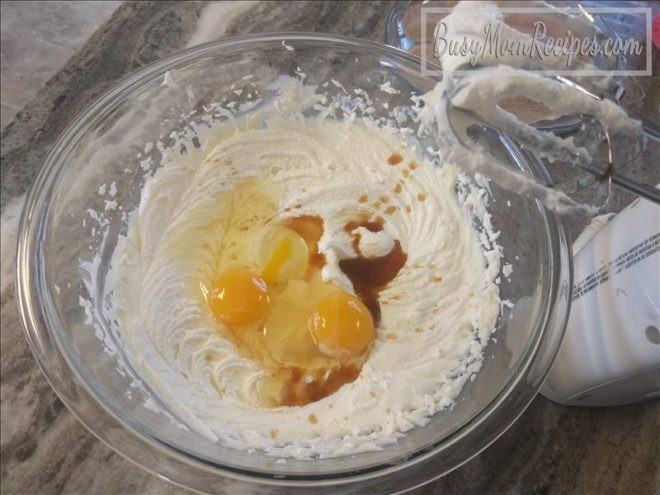
- 2 eggs
- 3 tsp. vanilla extract (I ran out of vanilla after the first 2 teaspoons so I used 1 tsp. of Maple syrup to replace the last tsp. of vanilla)
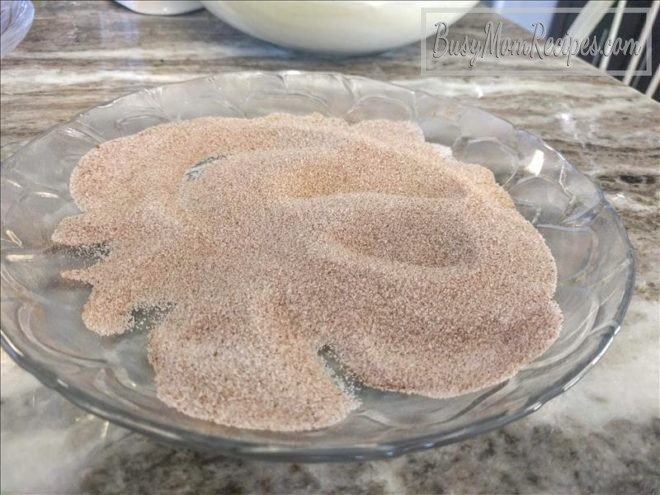
- 1/3 C. granulated sugar
- 2 1/2 tsp. cinnamon
Instructions:
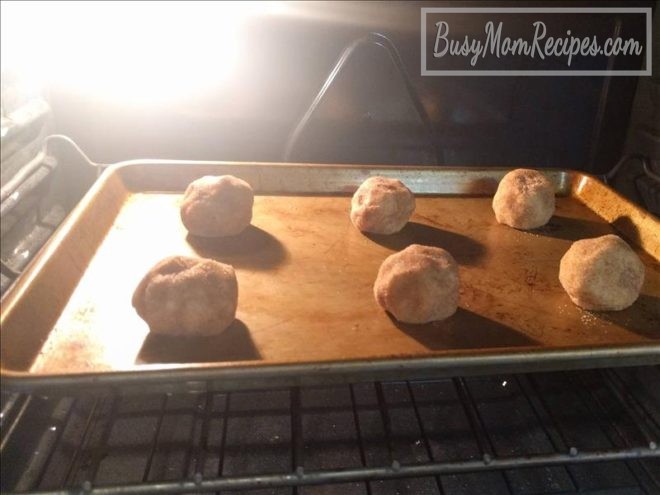
- Preheat oven to 350 degrees F. Line a cookie sheet with parchment paper if desired. (We are out of parchment paper so I just put the cookie dough balls straight onto the cookie sheet and they still turned out beautifully).
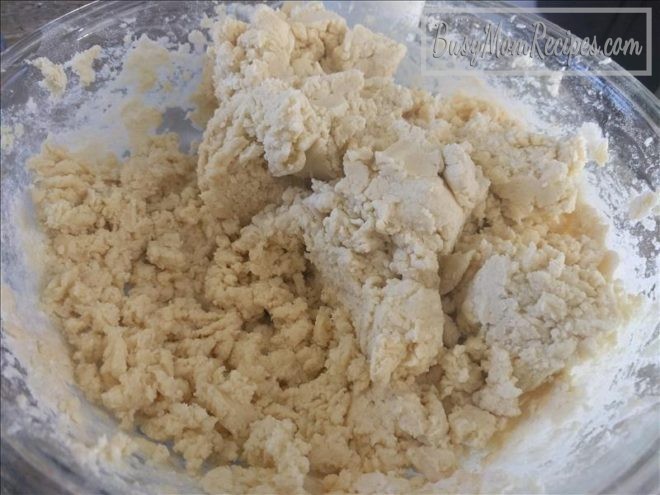
- In a medium mixing bowl, stir together the flour, baking powder and salt. Set aside.
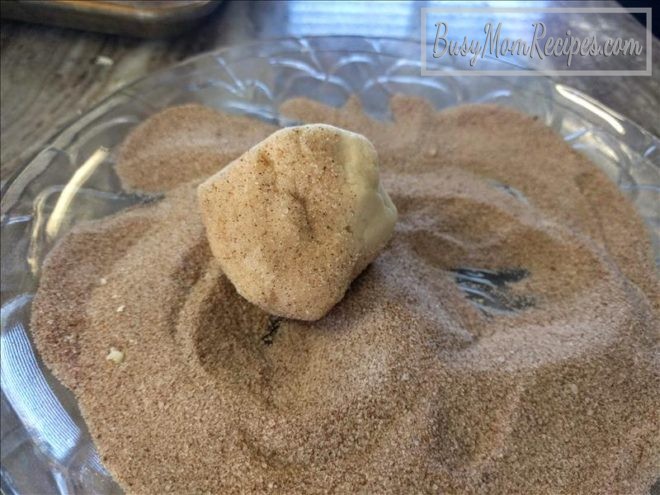
- On a plate, stir together the 1/3 C. sugar and the cinnamon. Set aside.
- In a very large mixing bowl, beat together the butter and 2 1/2 cups sugar until light and fluffy. Beat in the eggs and vanilla. I used a 4-quart mixing bowl and everything barely fit. I managed without making too much of a mess, but would recommend using a larger mixing bowl if you have one.
- Beat in the flour mixture little by little until everything is mixed well.
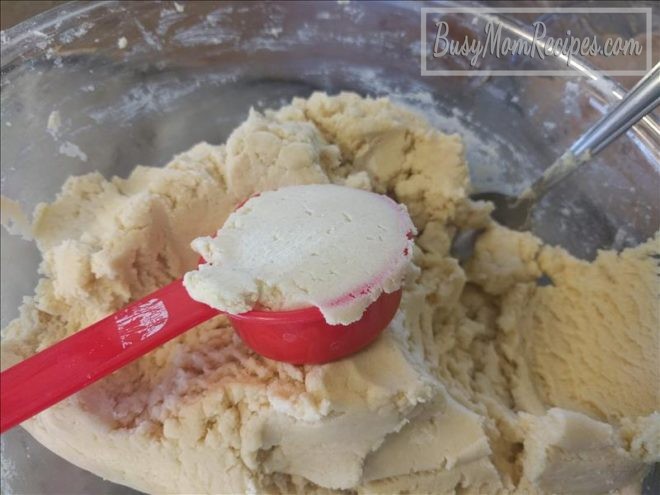
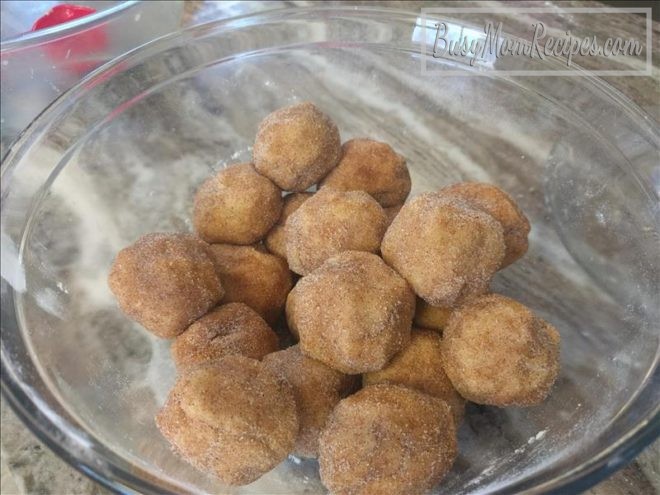
- Scoop the dough using a 1/4 cup measuring cup and roll into cookie dough balls. Roll each cookie dough ball in the cinnamon/sugar mixture and put six of them on the cookie sheet (these are big cookies!)
- Bake in preheated oven for about 14-15 minutes. Remove from oven and let settle a few minutes before transferring to a wire rack or plate.
Store your cookies in an airtight container for a few days, or freeze in a freezer-safe airtight container to enjoy later.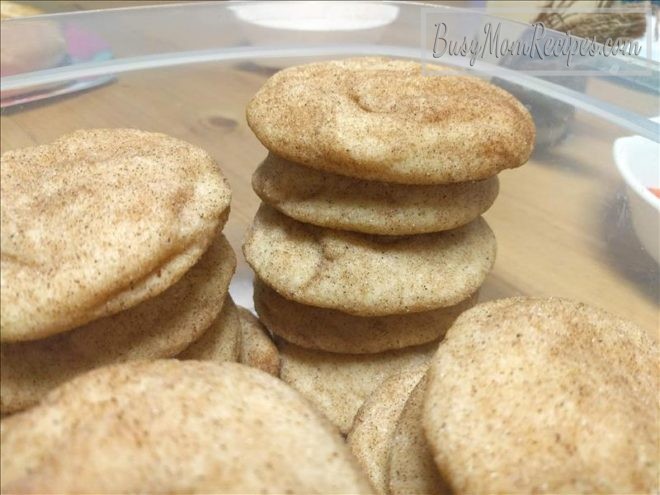
*Inspired by THIS recipe.
**If you love chewy cookies, you might like to try CHEWY GINGER COOKIES WITH MOLASSES or CHEWY CHOCOLATE CHIP COOKIES. Both of these recipes create tasty, chewy cookies and have ingredients with more nutrients than what you might find in the above Snickerdoodle Cookies recipe 😉


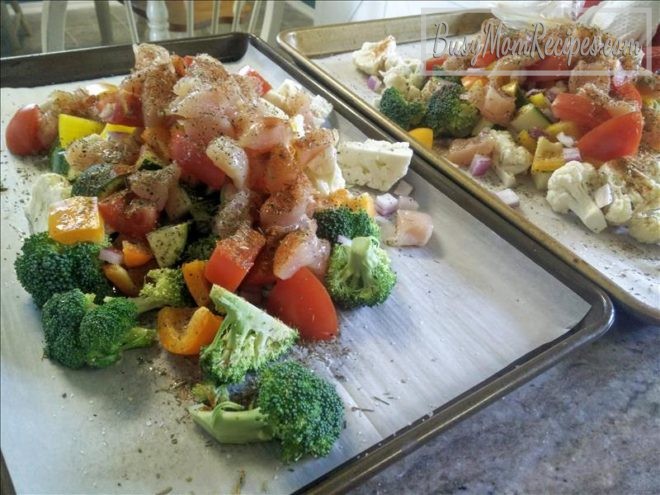 Use two spoons to toss together to spread the oil and seasonings.
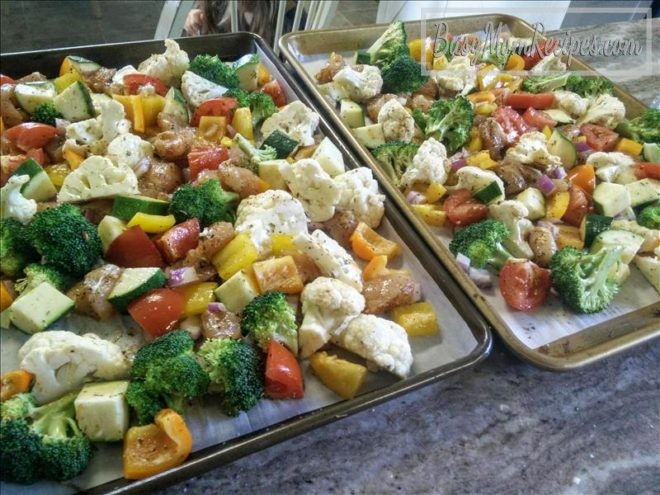

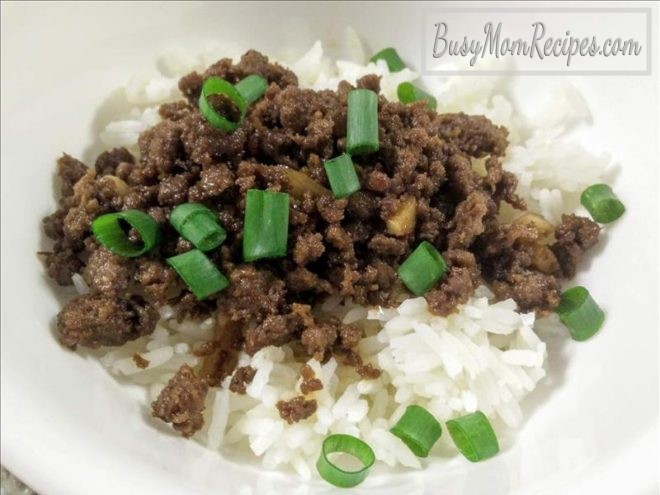
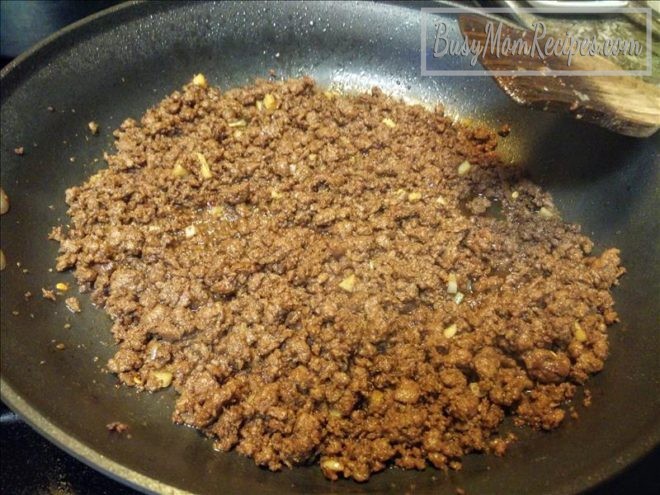
 Continue cooking and browning the beef until done. Turn the heat to low.