When I was a little girl, my family took a trip to visit our grandparents. One of the days we were with them just so happened to be my birthday. I don’t remember what kind of cake I asked for, but it was probably chocolate or pink or something like that. When my grandma suggested we make a carrot cake for my birthday, I was disgusted at the thought. Carrots in cake? Who would ever do such a thing? But then Grandma started singing a song about carrots, and somehow she convinced me to give it a try. So we had carrot cake. And it became my new favorite 😀 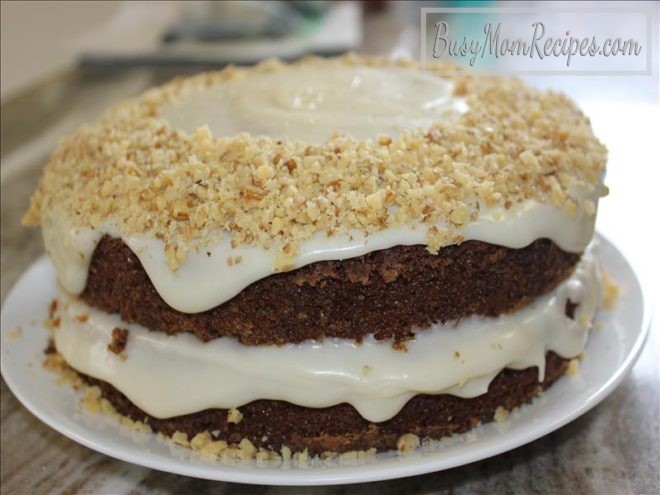
We have been making this delicious, moist carrot cake recipe for several years! Here is a picture of the first time my husband and I made it shortly after getting married. 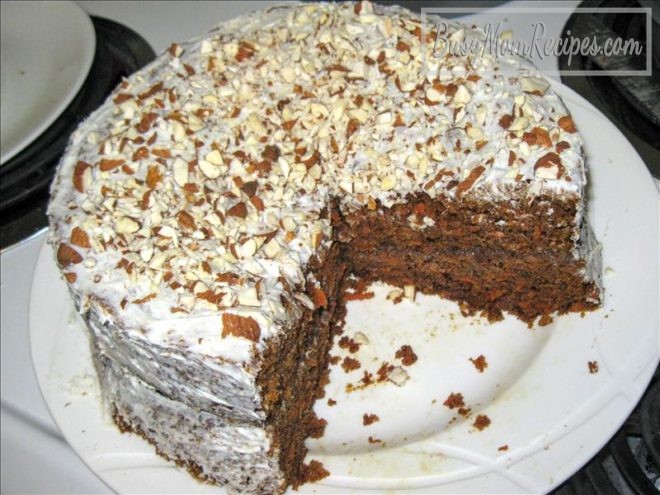 We didn’t have walnuts, so used almonds instead and we were short on cream cheese, so stretched the frosting quite a bit but it was still very tasty. We even made another one shortly after for him to take to a work party.
I got this recipe from a hand-written recipe book my sister gave to me when my husband and I got married. She included family favorites, recipes that were new to me, and left a few blank pages for me to fill in later. It was such a sweet gift, and was a life saver when I got married and all the sudden became the woman of our kitchen 😉 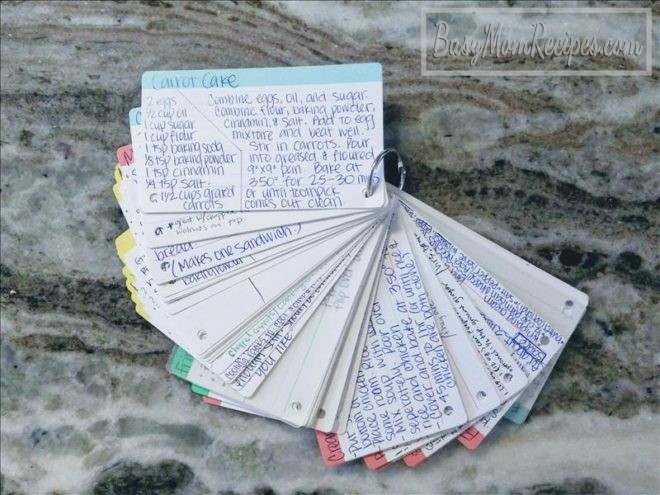
If you need an occasion to eat cake, this cake would especially make a lovely Spring birthday cake or Easter dessert. It would also be a lovely treat on Mother’s Day or Father’s Day (or any day).
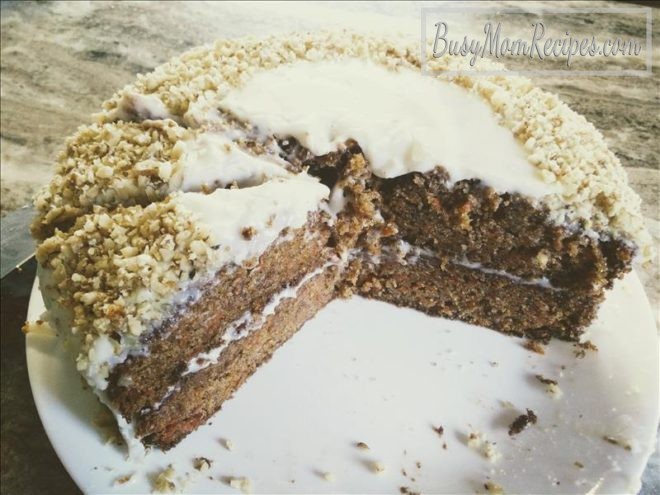
Carrot Cake with Cream Cheese Frosting
Ingredients (12 servings):
For Carrot Cake:
- 1 C. whole wheat flour
- 1 C. all-purpose flour
- 2 tsp. baking soda
- 1/4 tsp. baking powder
- 2 tsp. cinnamon
- 1/2 tsp. salt
- 4 eggs
- 1 C. light olive oil or canola oil
- 2 C. granulated sugar
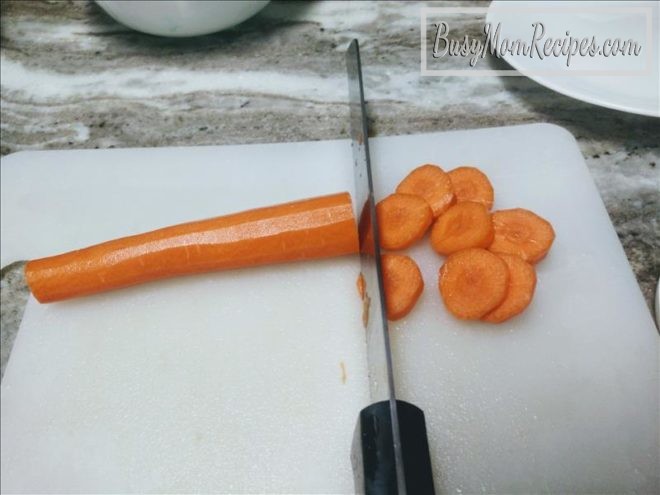
- 3 or 3 1/2 C. grated carrots (about 5 or 6 large carrots)
For Cream Cheese Frosting:
- 6 oz cream cheese, softened (you can use a microwave to soften)
- 4 Tbsp. butter, softened
- 1 tsp. vanilla
- 2 C. powdered sugar
- optional: food coloring to color the frosting
- optional: a handful of walnuts, chopped
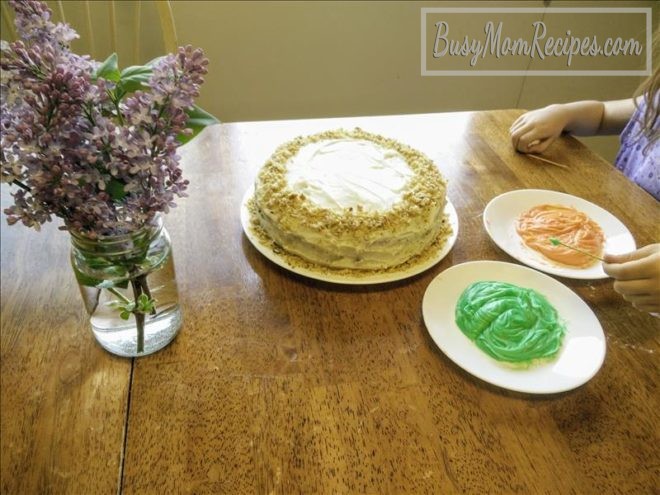
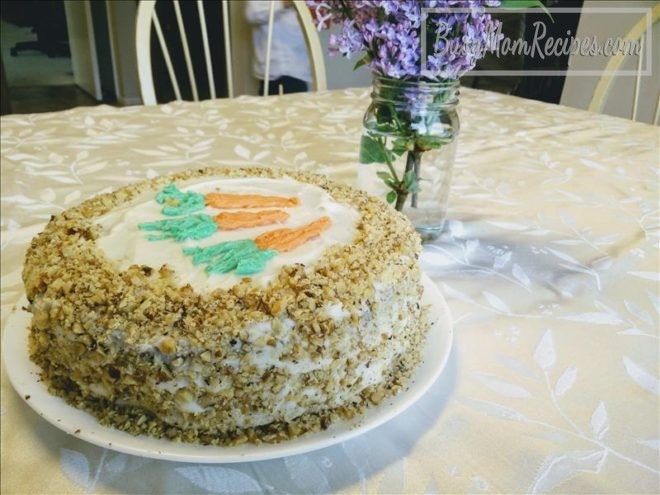
- *Note: If you like a lot of frosting or want some extra to make extra cute designs on your cake like these carrots, you can use 8 oz cream cheese, about 5 Tbps. butter, 1 1/4 tsp. vanilla, and about 2 1/2 C. powdered sugar (or to taste). Use a little less than half of the frosting on the first layer, then a little less than the remaining half on the second layer of cake so that you’ll have some leftover.
Instructions:
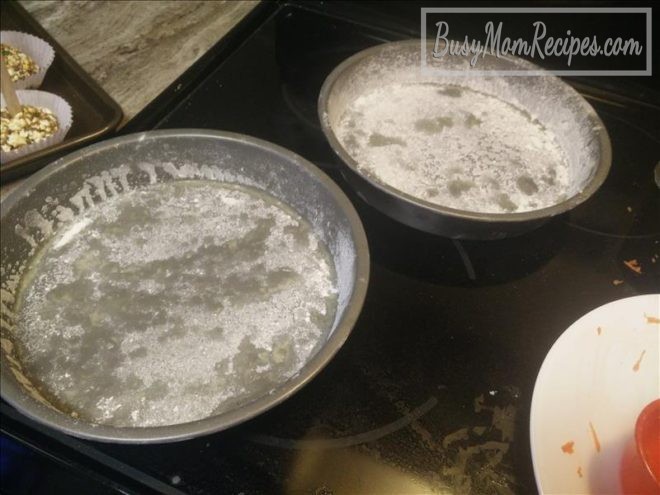
- Preheat oven to 350 degrees F. and grease and flour two circular 9-inch cake pans.
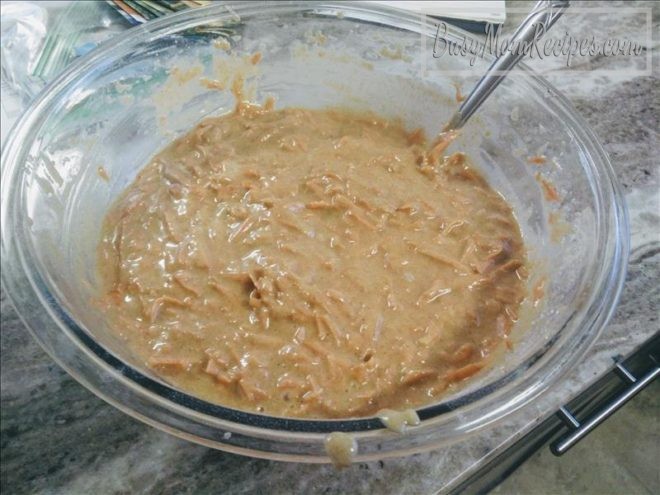
- Add all carrot cake ingredients except for the grated carrots into a large mixing bowl. Beat well with an electric hand mixer. Stir in the grated carrots with a spoon.
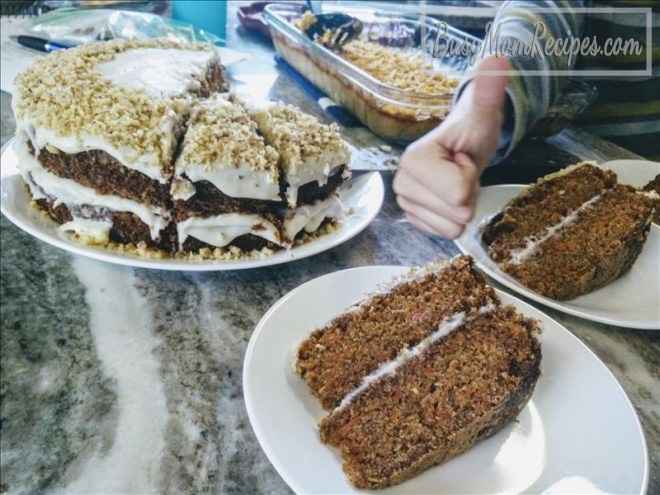
- Divide the batter evenly between the two cake pans, and bake in preheated oven for 35-40 minutes, or until toothpick comes out clean. Let cool (I like to make the cake the night before we’re planning on eating it. If you do this, you can just cover the cake with a clean dish towel before going to bed and then frost in the morning when it is at room temperature).
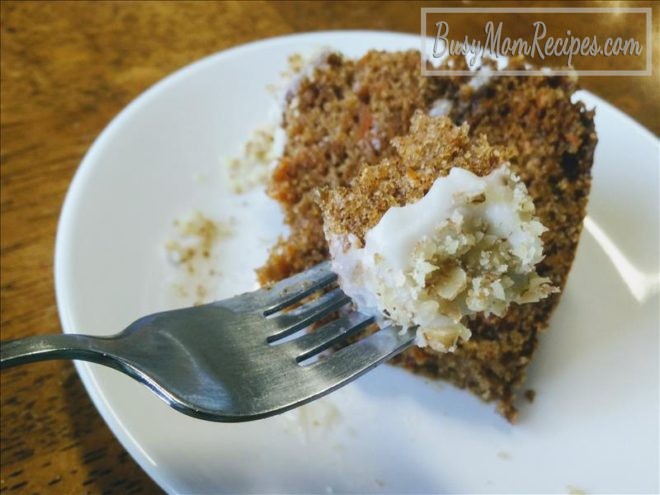
- When the cake is cooled all the way to room temperature, make the frosting. In a medium mixing bowl, combine soft cream cheese, soft butter and vanilla. Beat well with electric hand mixer. Add the powdered sugar. Stir with hand mixer off (so the sugar doesn’t fly everywhere) and then beat well until the frosting is smooth.
- Use a rubber spatula to loosen the sides of the cake from the pans. Tip one cake upside down onto a plate or cake platter. You may need to tap the bottom of the pan to help the cake drop onto the plate. Spoon half of the cream cheese frosting onto the cake.
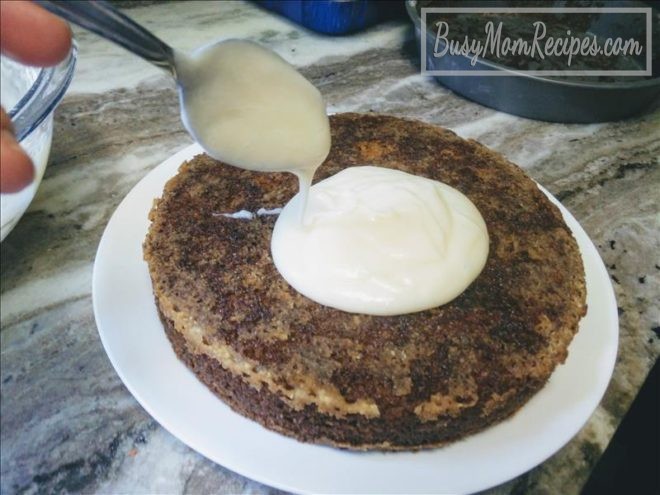
 You can let some of the frosting drip onto the sides to make it look more decorative, or if the frosting is stiffer, you can spread the frosting onto the sides of the cake.
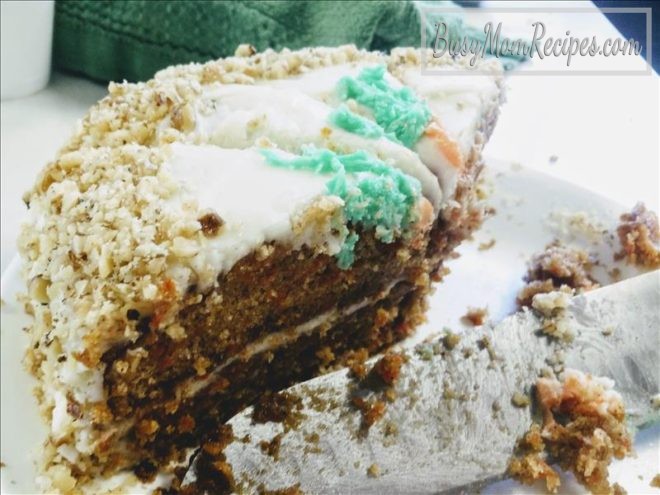
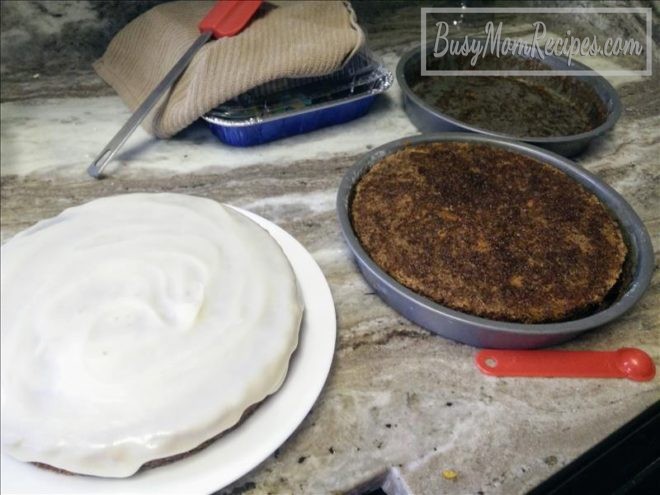
- Remove the second cake from its cake pan into the empty cake pan by tipping it upside down and tapping until it falls into the cake pan. Then tip it upside down again right on top of the first cake (which is now covered in frosting). Cover with the remaining frosting and if desired, sprinkle with chopped walnuts. You may need to gently press the walnuts into the frosting with your hand if they aren’t sticking to the surface of the frosting on their own.
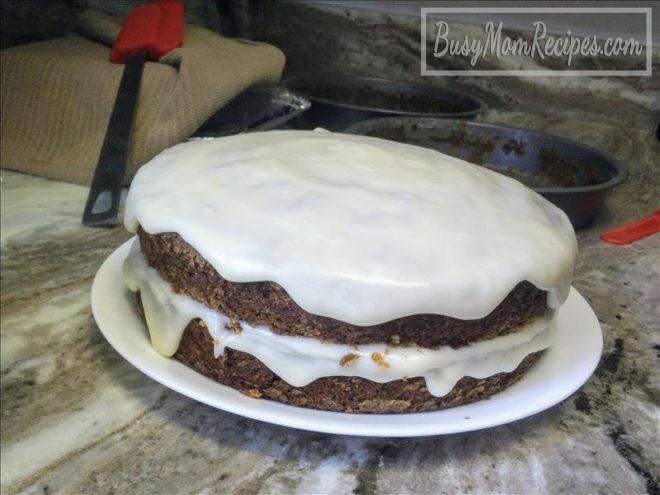
If you aren’t eating the cake within a couple hours of frosting it, it’s probably best to keep the cake refrigerated since the frosting is made with cream cheese. You can cover the cake with some plastic wrap and keep it in the refrigerator until ready to eat. 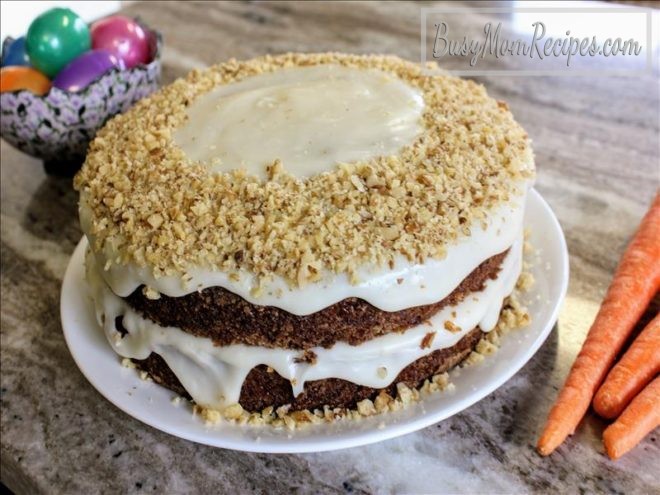
Enjoy!
*Inspired by Olivia.
**If you’re loving the vegetables in cake idea, you can also try Chocolate Beetroot Cake, which is super tasty!


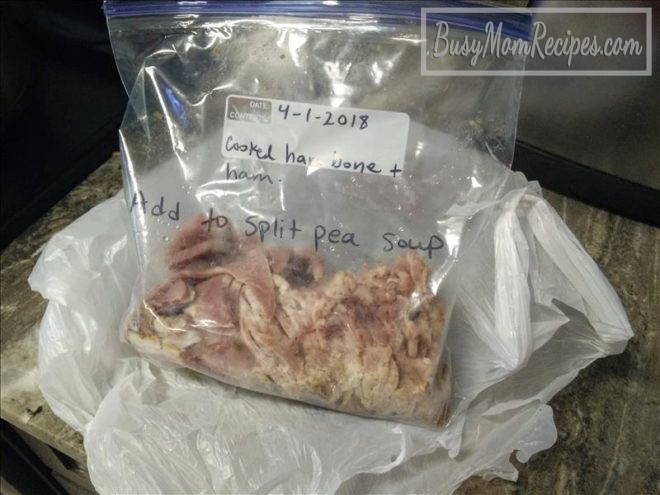
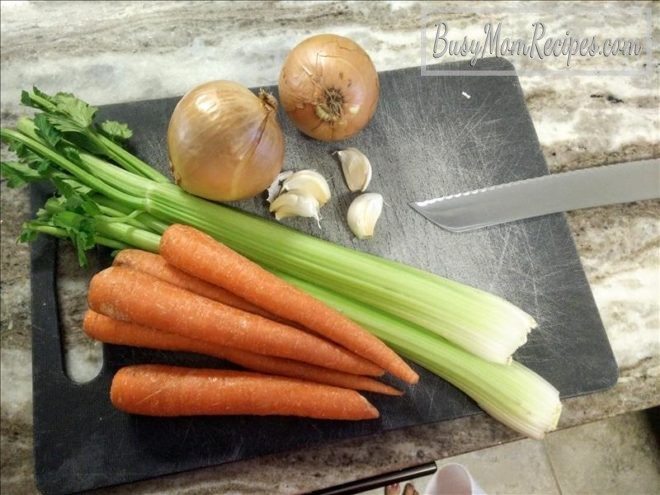
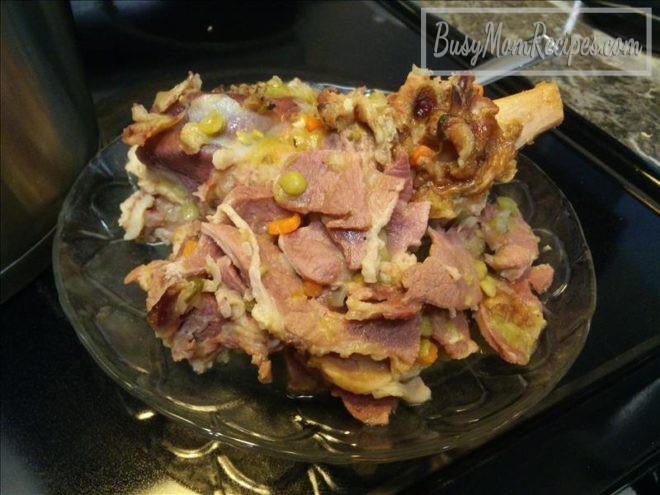 Blend about half of the soup in batches (make sure it’s not too hot for the blender) and return pureed soup to the soup pot (this will help give the soup a creamier consistency).
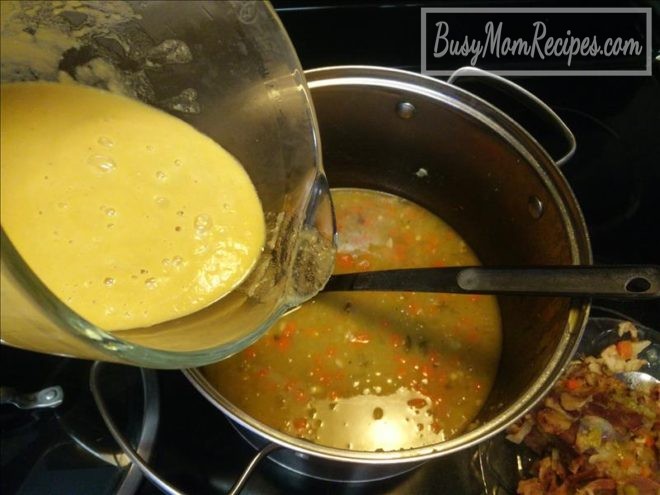


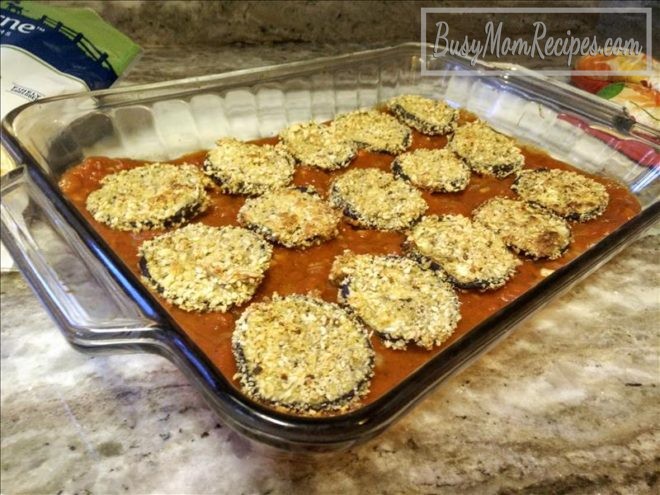
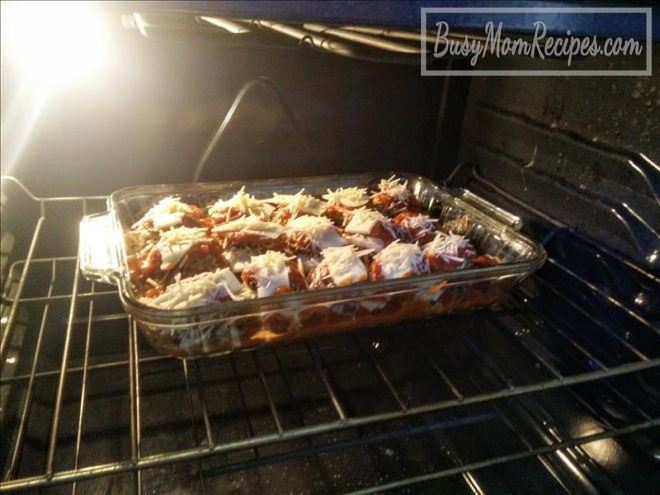
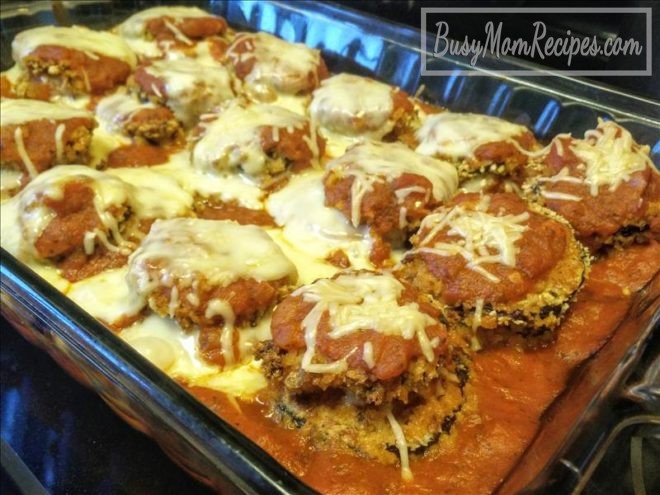 While the Eggplant Parmesan is baking, cook up some pasta according to pasta box instructions. I loved using
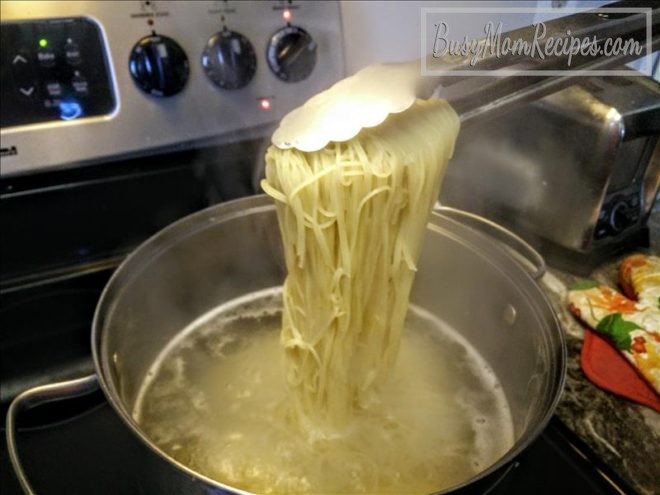


 However, as an adult, I’ve started really liking