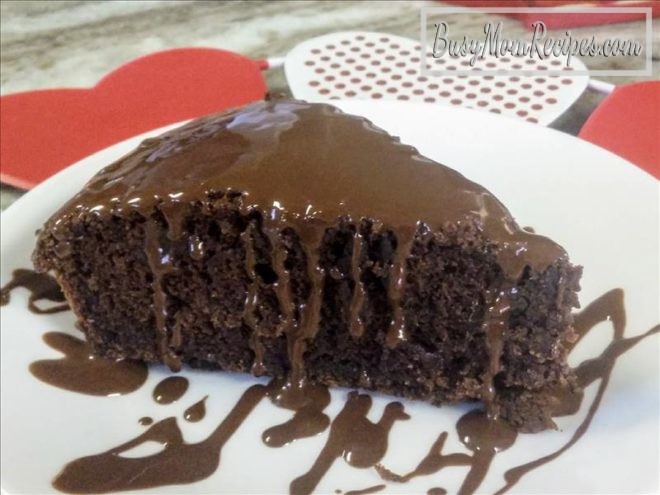
If you are looking for a sweet for your sweetie this Valentine’s Day, this Chocolate Beetroot Cake might just be what you need 🙂  This is a rich and moist chocolate cake, and healthier than many cakes out there. Don’t worry, you shouldn’t be able to taste the beets in the cake. My husband and son were very wary of the fact that this was a beetroot cake, but they both loved it and even wanted seconds!
Chocolate Beetroot Cake (Vegan)
Ingredients (serves 8-12):
- 1 C. whole wheat flour
- 1 C. all-purpose flour
- 2/3 C. Turbinado sugar
- 1/2 C. unsweetened cocoa powder
- 1 1/2 tsp. baking powder
- 1/2 tsp. baking soda
- 1/2 tsp. salt
- 1/2 tsp. cinnamon
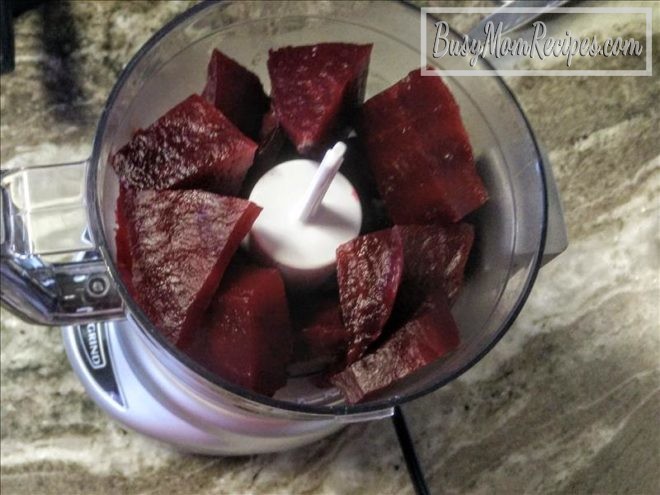
- 1 large beet (the one I used was about 11 inches in diameter and filled about 1 1/4 cups pureed.) and water to boil.
- 1/3 C. melted coconut oil
- 1 tsp. vanilla
- 1 1/3 C. beetroot water (reserve this from the water you use to boil the beet).
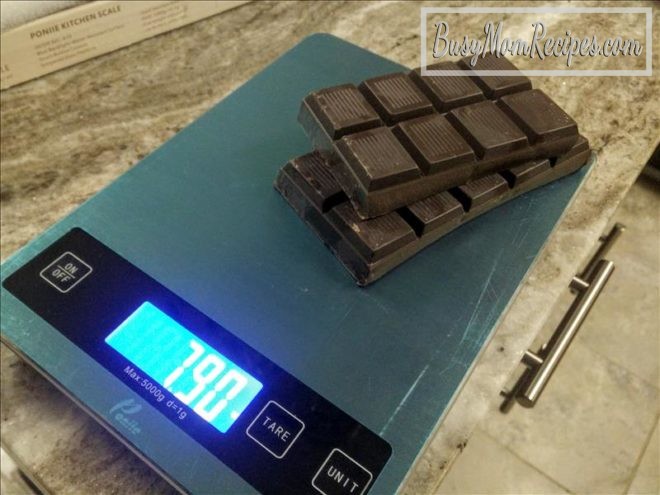
- 1/2 C. chocolate chips (vegan chocolate chips if you want this to be a vegan cake)
For the Glaze/Frosting/Topping:
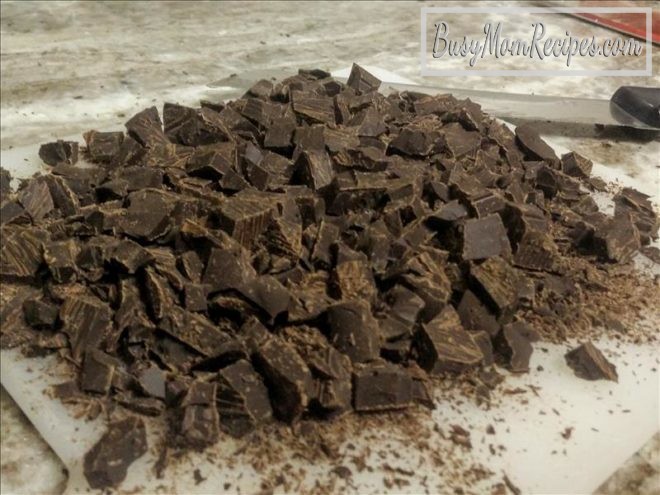
- 1 C. chocolate chips (again, vegan chocolate chips if you want this to be a vegan cake)
- 1/4 C. coconut oil
Optional Toppings:
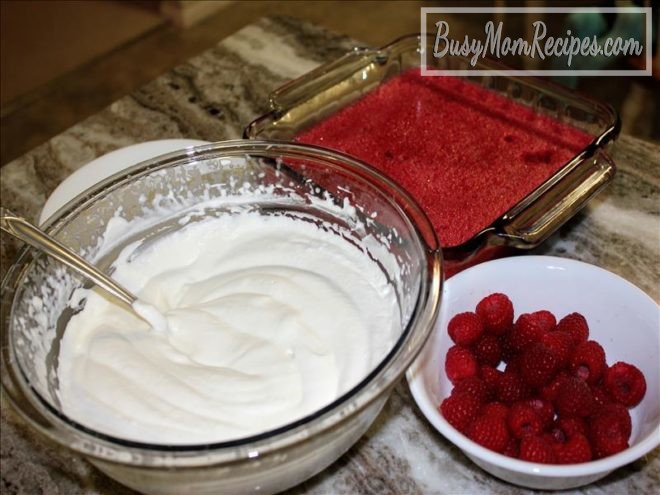
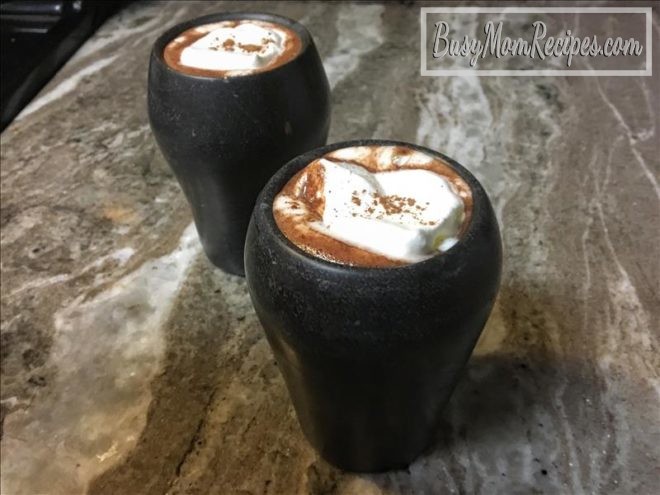
- shredded coconut
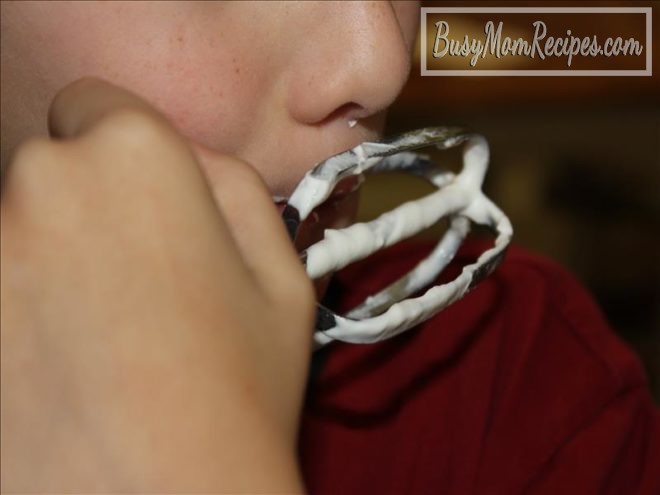
- whipped cream (or Vegan Coconut Whipped Topping… Scroll down on THIS page for the recipe)
Instructions:
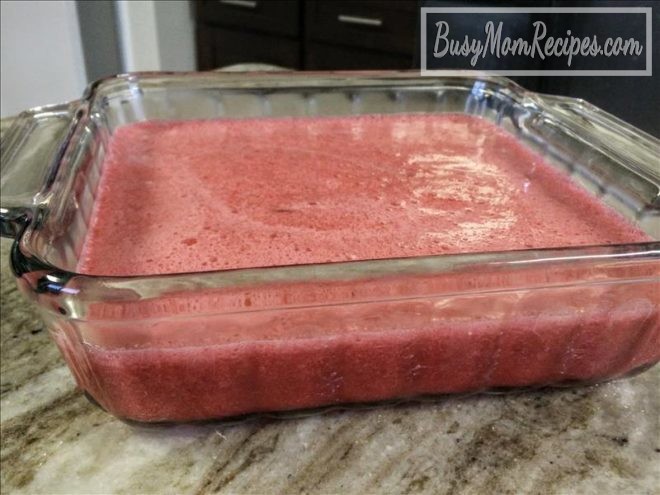
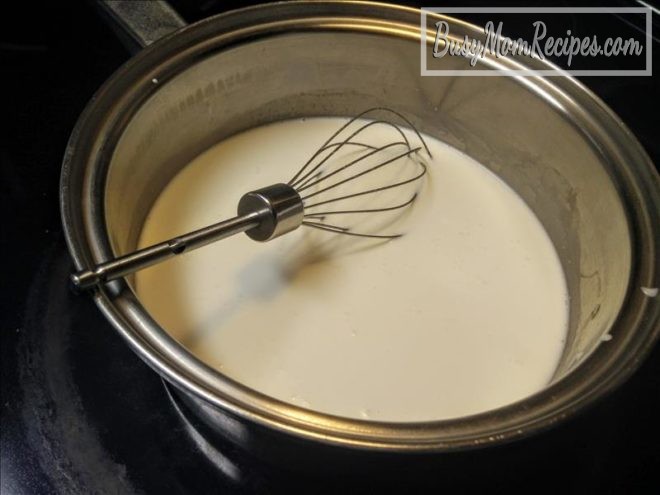
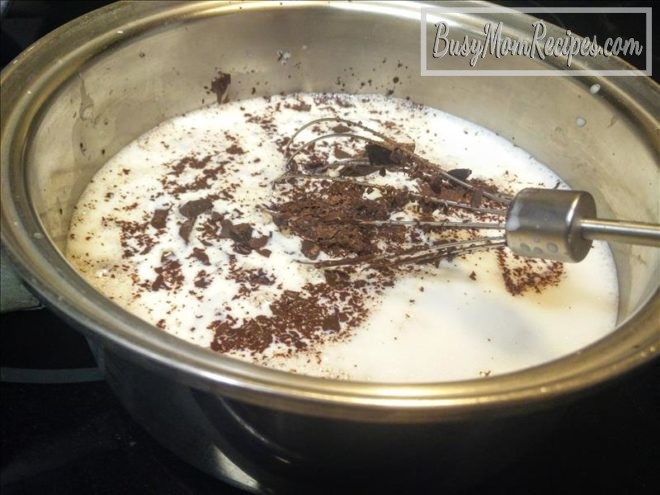
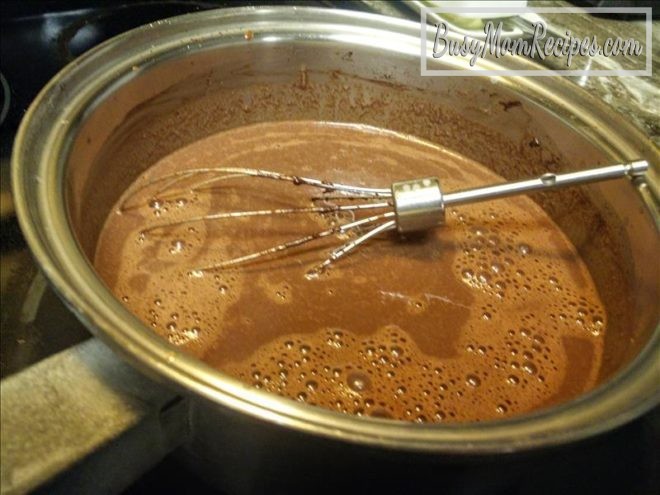
- Fill a large pot with water and bring to a boil. Add the beet (washed and scrubbed). Let boil for about 45 minutes to an hour (or until beet is tender and can easily be pierced with a fork). Remove the beet from the water and pull off the peel (or use a knife to cut off the peel.) Cut the beet into about 2-inch chunks and place the chunks in a food processor. Process the beet chunks until smooth. Add vanilla and melted the 1/3 cup of melted coconut oil. Blend together in the food processor. Scoop this mixture into a large mixing bowl. Stir in the 1 1/3 cups of the water you used to boil the beet.
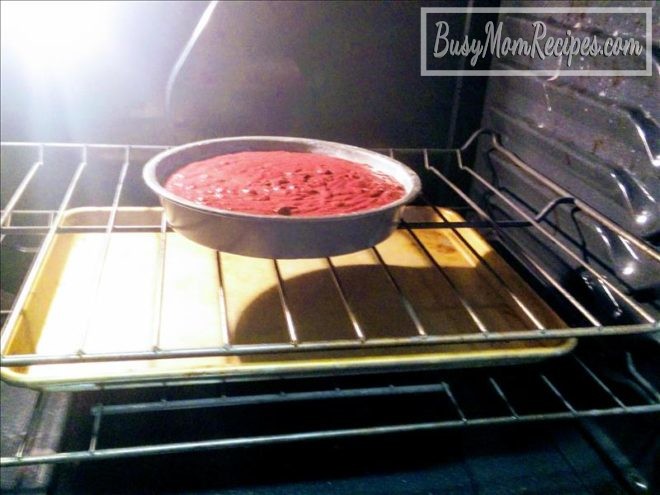
- Preheat oven to 350 degrees F. and lightly grease and flour a 10-inch circular cake pan.

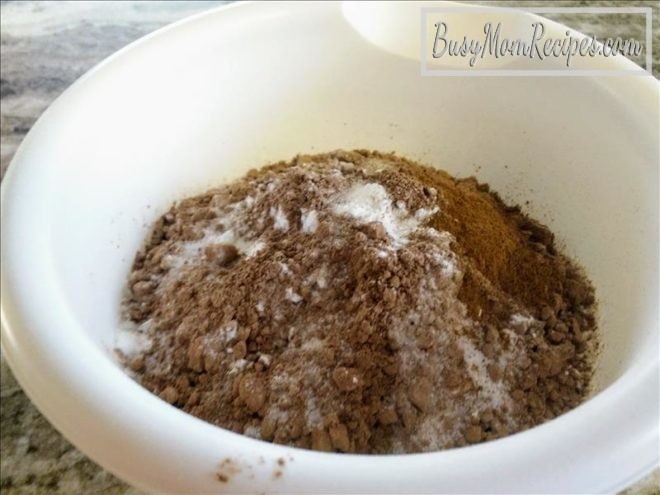
- In a smaller mixing bowl, whisk together the whole wheat flour, all-purpose flour, Turbinado sugar, cocoa powder, baking powder, baking soda, salt and cinnamon.
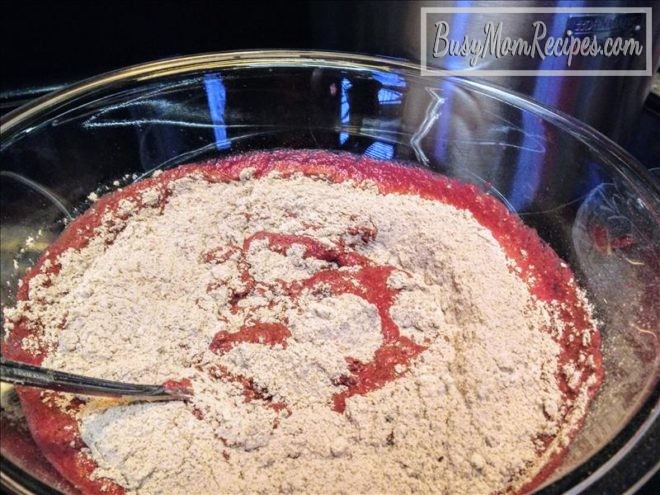
- Add the dry ingredients to the large mixing bowl with the beet mixture. Stir together until evenly combined.
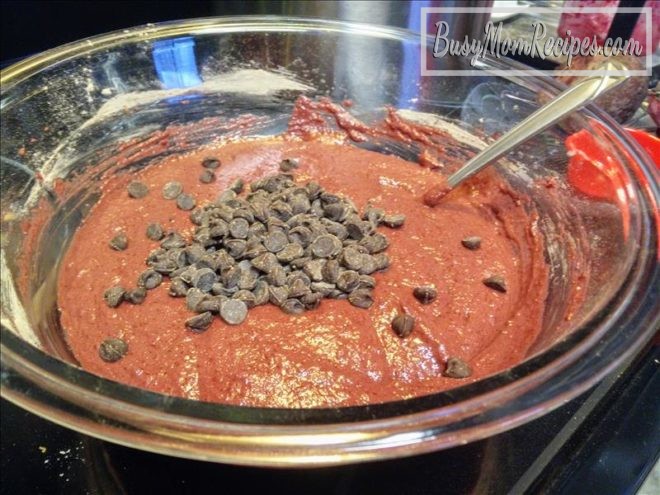
- Stir in the 1/2 cup of chocolate chips.
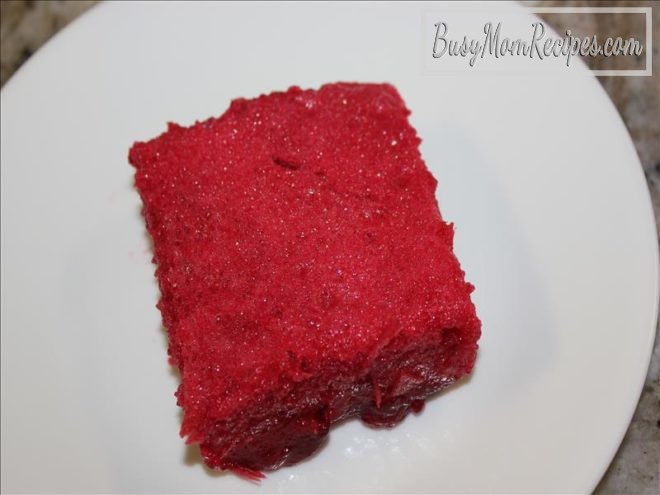
- Pour the cake batter into the prepared pan and bake on the middle rack of the oven for about 40 minutes, or until a toothpick comes out clean (this may be tricky if you get some of the melted chocolate chip on the toothpick, so try to find a spot in the cake where you’re not poking into a chocolate chip).
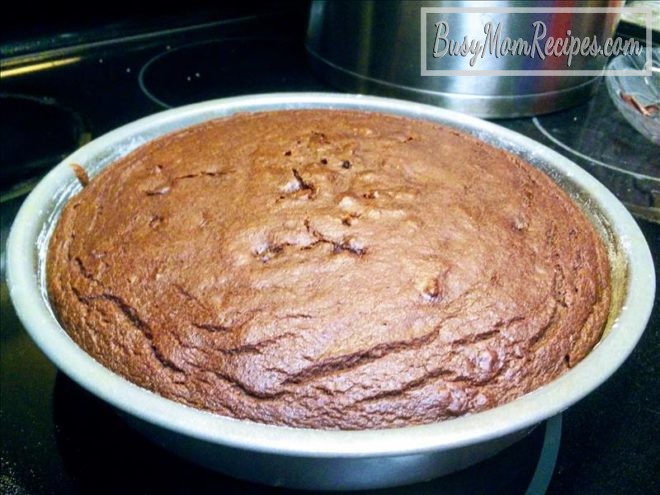
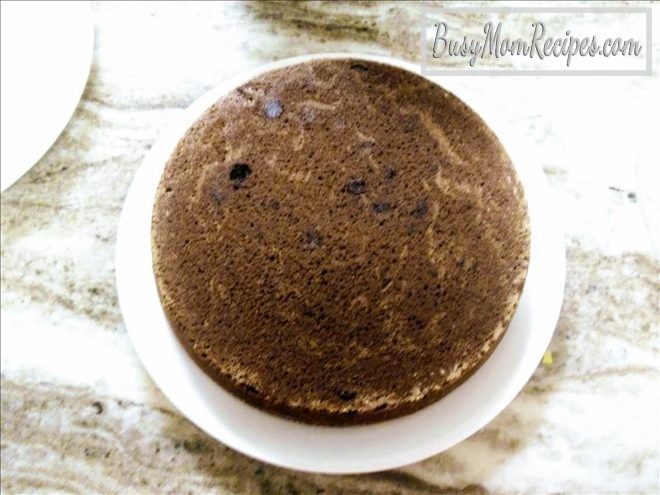
- Remove cake from oven and let sit 10-15 minutes. Flip it onto a cake platter or plate so it can cool to room temperature.
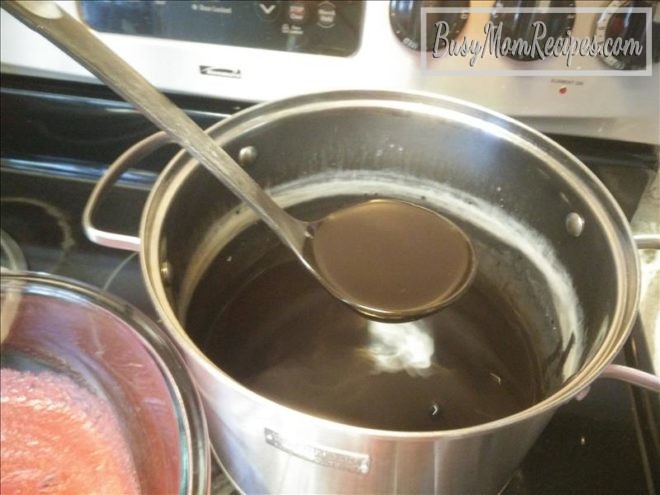
- Make the topping by melting the chocolate chips and coconut oil together. You can do this using the microwave, but just stir them up about every 20 seconds or so to keep the chocolate from burning. Let the topping sit at room temperature for a little while to harden back up a little bit. Smooth a spoonful or so of the topping onto each piece of cake as you serve the slices.
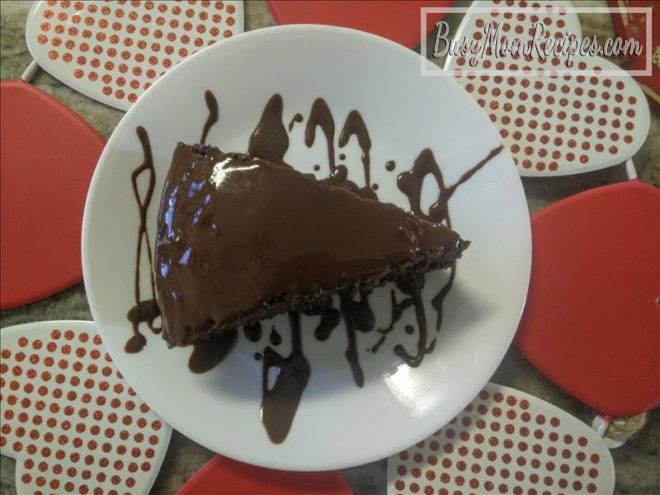
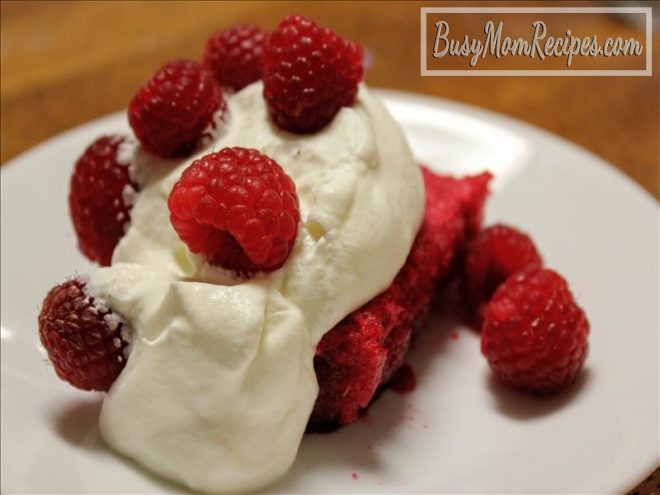
You can sprinkle shredded coconut flakes on top for decoration.  Whipped cream is also a wonderful addition to this chocolate beetroot cake, but it is still amazing as is <3
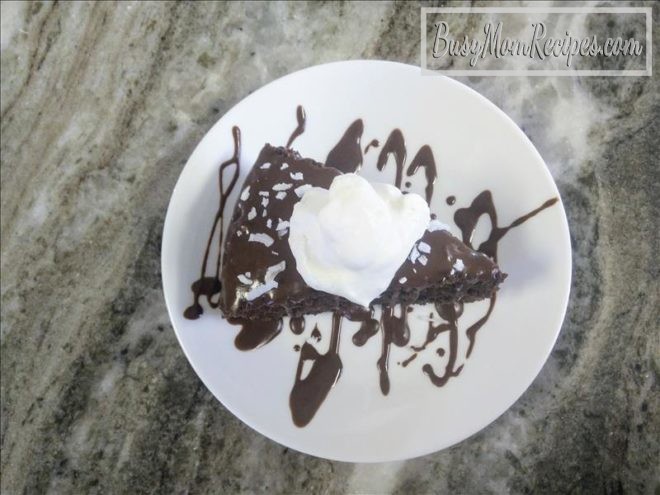
Enjoy!
*Inspired by Olivia and THIS recipe.
**For other great Valentine’s Day desserts, try CRANBERRY JELLO or a NO-BAKE NUTELLA CHEESECAKE.

 Transfer to an