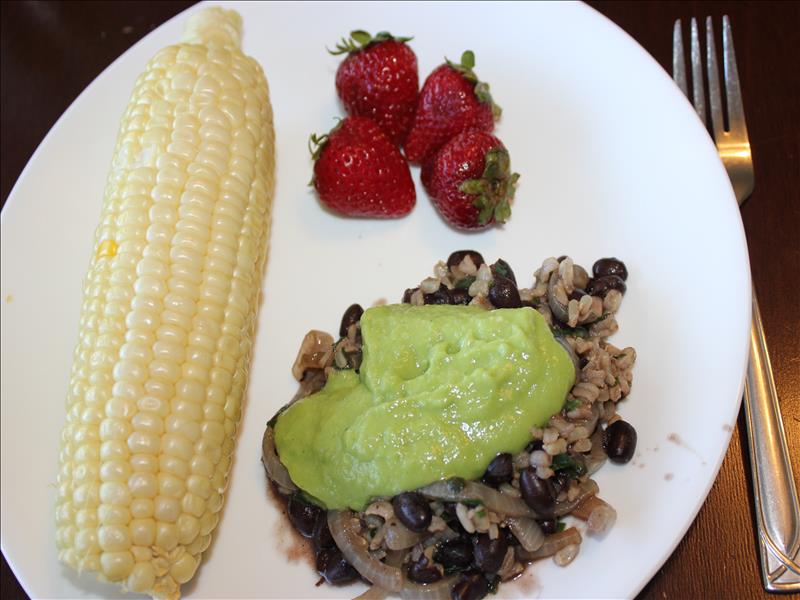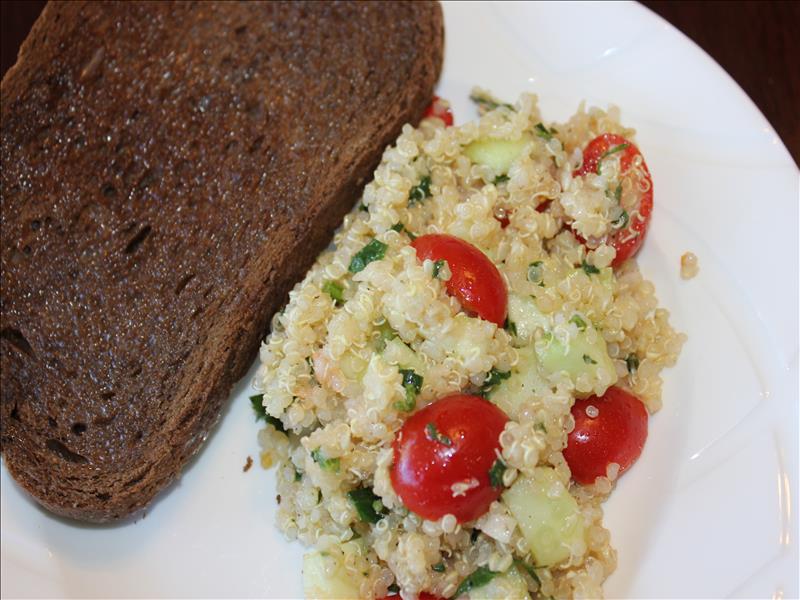
Tonight we had a completely whole-foods, plant-based dinner. (Dessert is a whole other story). As for the dinner, it tasted great, was filling and easy enough to prepare.
I never get excited about buying corn. It’s one of those things I feel like I would never miss if it didn’t exist. But my kids, on the other hand, really go for that stuff.
They mostly just like peeling the husks off. 🙂
So they convinced me to buy some corn while we were at the produce market today. It actually turned out pretty good and went great with the main Rice and Black Beans Recipe. (click HERE for Corn-on-the-Cob-How-to).
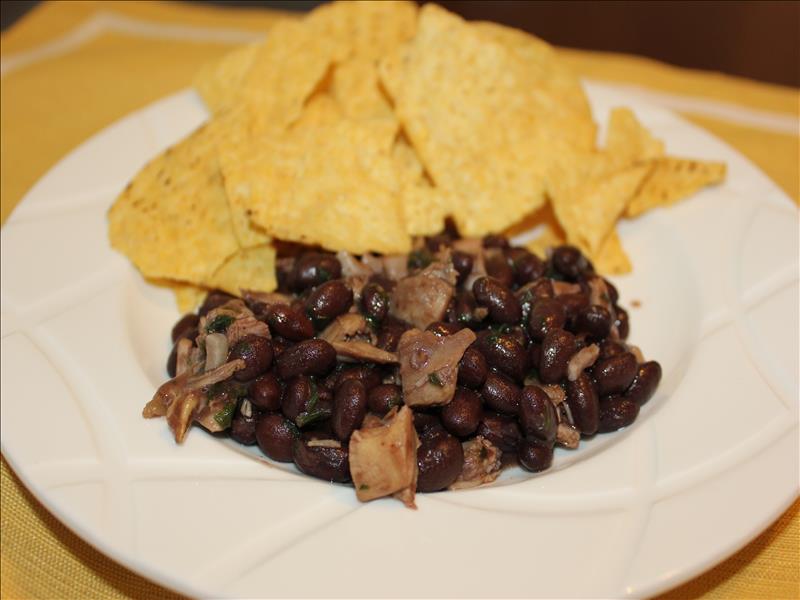
Rice and Black Beans Recipe
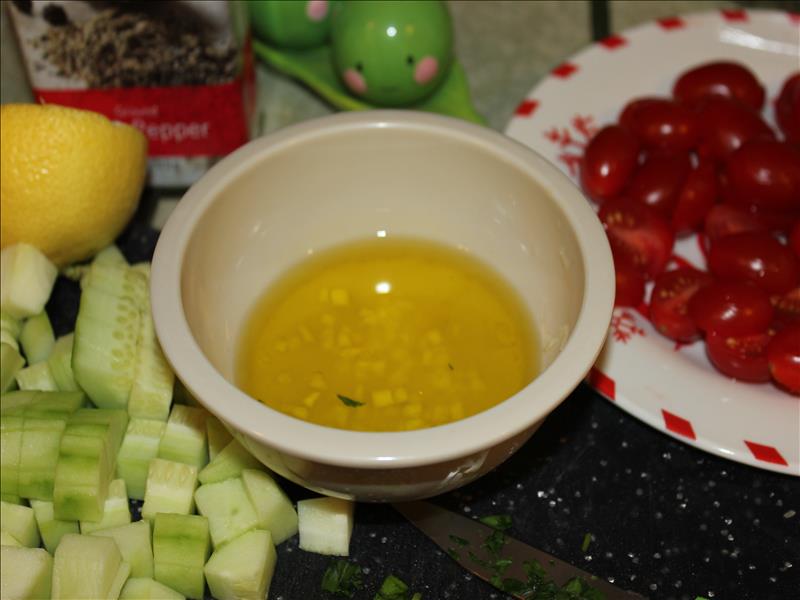
Ingredients:
- yellow onion, chopped or sliced
- 2 cloves garlic, minced
- about 1/2 C. parsley, chopped
- 1 can low-sodium black beans (not drained)
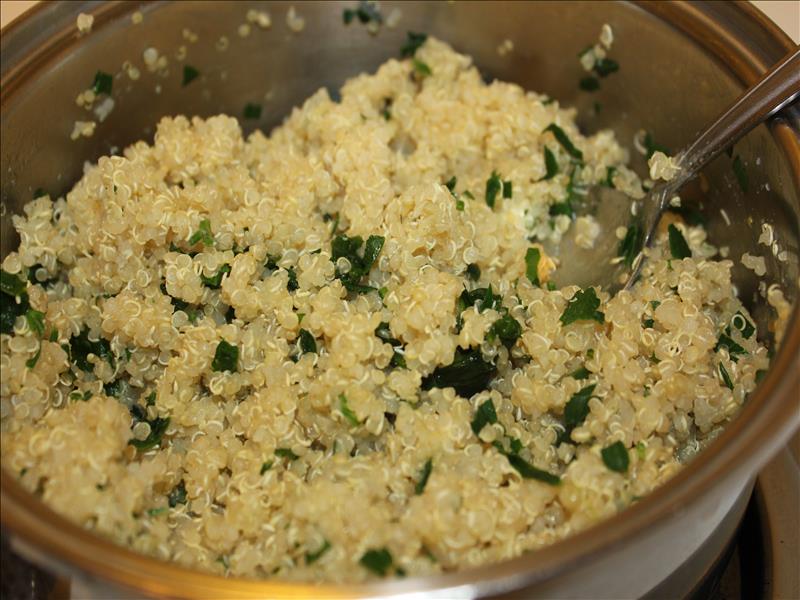
- about 1 C. cooked brown rice
- salt, pepper, and a pinch of ground cumin
Instructions:
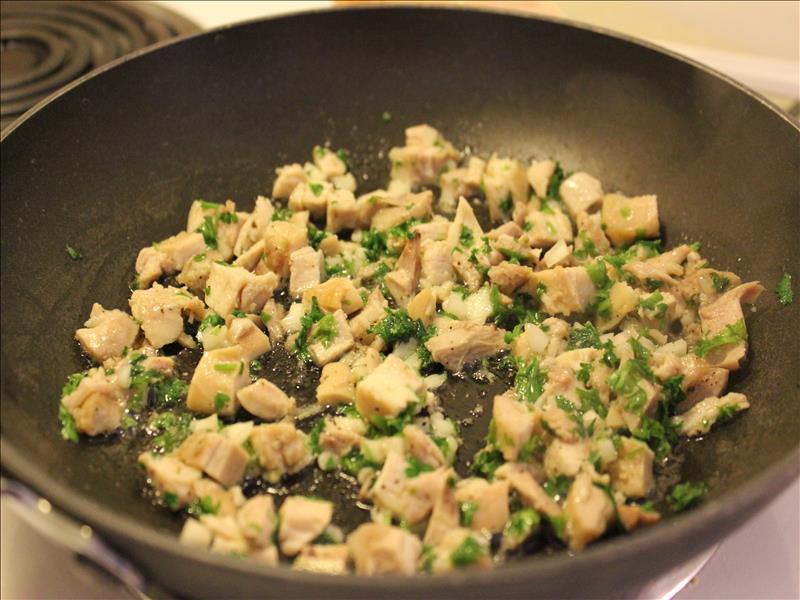
- Saute onions until translucent (you can do this without oil or butter! It does work! Just stir frequently so they don’t burn. Also, a lid helps so they cook more evenly).
- Add garlic and parsley. Mix and cook about 1-2 minutes.
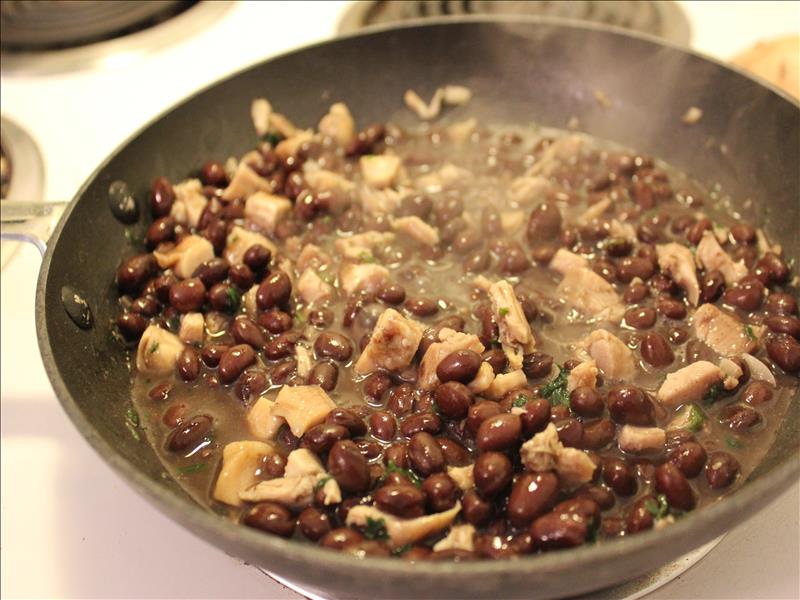
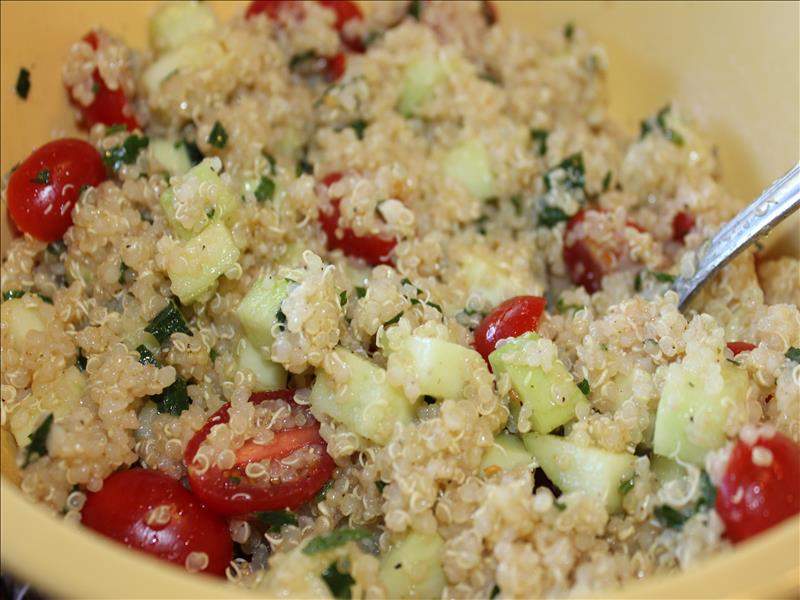
- Add black beans, rice, salt, pepper, and cumin. Stir. Let simmer for about 4 minutes.
Serve with fresh Green Salsa (recipe HERE).